

Barret
Monday, July 29, 2019 | 6 minutes
Flow and Azure Cognitive Services Vision Service-Thumbnails
In the past, I’ve played around with some pieces of Azure Cognitive Services surrounding text recognition. Over the next couple of posts, I’m going to take a look at some things you can do with the Vision Service and ways we can integrate that with Flow. For this first post, we’re going to use the Vision service to create a thumbnail of our image.
There are any number of reasons that you might want to generate thumbnail images for a file. One example would be a company that is putting together an online product catalog or online store. For most situations like this, every product will need one or more full size images and a thumbnail to match each one. For example, when you look at a product on Amazon, there will be a series of thumbnail images along the left side of the product page. Hovering over or clicking on an image will display the full size version.
For someone putting together such product catalogs, manually creating each thumbnail will be a tremendously tedious task. Instead, we’ll use Flow to make it easier. Our business requirement will be as follows:
When I drop an image file into a specific folder, I want a thumbnail image to automatically be generated.
Creating Our Flow
There are a number of ways that we can trigger this flow, including a flow button. In this instance, we’re going to use a OneDrive folder trigger. Create a blank flow of type Automated, and search the triggers for OneDrive.
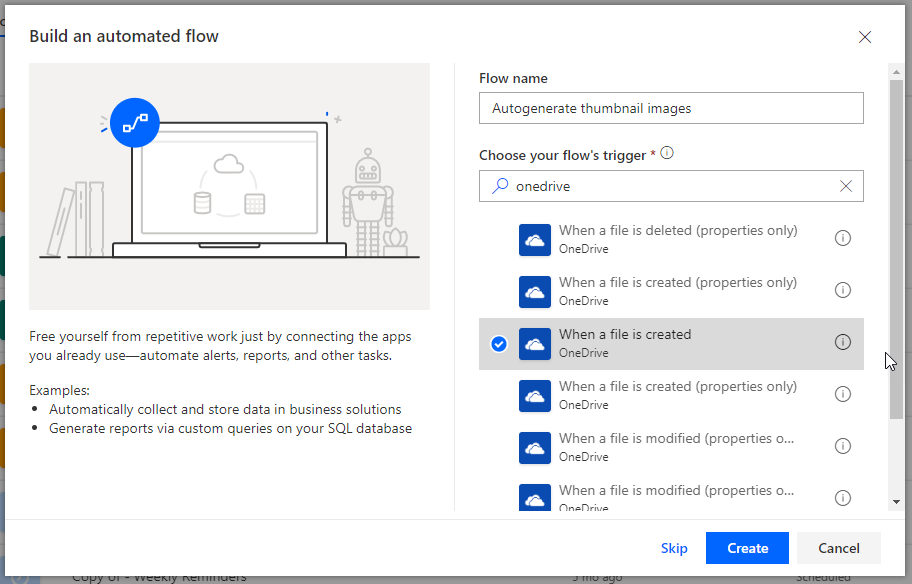
Create flow
If you have not previously connected Flow to OneDrive, you will be asked for your credentials at this time.
In your OneDrive trigger block, select the folder that you want to monitor for new images. You can leave the “Infer Content Type” setting as Yes.
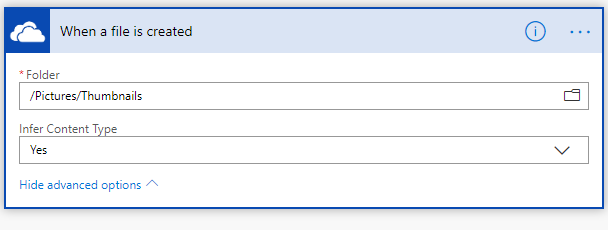
Select folder
Note that there is another version of the “When a file is created” trigger that is listed as preview. The difference between the two is that the preview version has an option to let you watch sub-folders as well as the main folder you select.
Check File Type
The next thing we need to do is verify that the file has one of the expected image file extensions. For our purposes, we’re going to allow PNG, BMP, JPG and GIF file types.
We’ll do this by adding a condition block. Search the actions for Control and then select the Condition action. In the condition, we will need 4 rows, and select the “Or” option.
In each of the rows, the value we’re examining will be the File content type from the OneDrive trigger and the condition will be “is equal to”. We’ll enter the following entries into the four comparison values boxes:
image/png
image/bmp
image/jpeg
image/gif
There’s a couple of ways you can handle the result of this check. First, you could put all the following processing in the “If yes” box and leave the “If no” block blank. Alternatively, you can put a Terminate action in the “If no” section and leave the “If yes” blank. Then you just go on with the flow after the condition. I tend to think this option is a little cleaner, so we’ll go with that.
In the “If no” section, add the Terminate action and set the status to Succeeded instead of failure. That way you’re not getting false failure notifications. Your Condition block should look something like this:
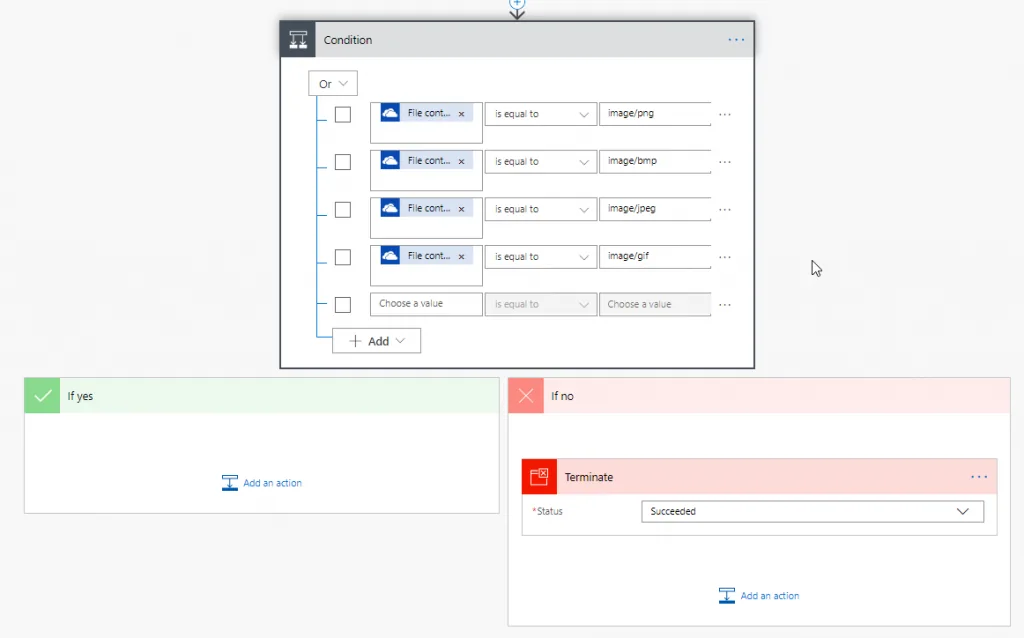
condition
Vision Time
Now that we’ve checked that we’re working with an image file, we can proceed to the next step. At the bottom of the flow, choose Add action and search for “Computer vision”. In the Computer Vision API connector, select “Generate thumbnail”. (Currently this is listed as “preview” and may change).
The use of the Computer Vision API requires an Azure account with the Computer Vision resource added. If you haven’t set this up yet, you can do so from within the Azure Portal. Log in to your Azure portal account, select Add New Resource, and search for Computer Vision. It should be under the Cognitive Services section.
To create the Computer Vision resource, you’ll need to enter a name, select your subscription, select the data center you want it to run from, a pricing tier, and a resource group to put it into. On the pricing tiers, there is currently a free tier (F0) which offers up to 5,000 transactions per month. A transaction is an individual request to the API. Each request and each file is an additional transaction, even when batched together.

Create vision services request
Now that we’ve created our Azure resource, we can call it from our flow. If you have not yet connected Flow to your Computer Vision Azure resource, you will do so now. In your flow’s generate thumbnail step, enter the name of the resource, one of the two keys from Azure, and the URL of your service’s endpoint. Once you have done that, click “Create”.
Now we will set our parameters for the thumbnail. We’ll leave the width and height set at 50 each. For the “Image Source”, we’ll select “Image Content”. Rather than pass in the URL to the file location on OneDrive, we’ll pass in the actual file blob. This will cause the parameter “Image Content” to show. For this value, select the File content output from the OneDrive trigger.
Generate the Thumbnail
Our last step is to generate the actual thumbnail itself. Add a OneDrive “Create file” step to the end of the flow. For the “Folder Path”, select the folder you want the thumbnail to be dropped into. Make sure that you select a different folder than the source folder. If you drop the generated thumbnails back in the same folder, it will trigger the loop again, causing an infinite loop of thumbnail creation.
For the file name, we’re going to use the pattern of “t_” + the original file name. In the value, enter the following expression:
concat('t_', triggerOutputs()['headers']['x-ms-file-name'])
One thing to take note of. If you just select the File name output from the trigger, it will give you the encoded file name, which you will have to decode before using. So watch out for that.
For the file content, select the “Thumbnail” output of the Generate Thumbnail step.
Fin
And that’s it! A super simple flow to generate image thumbnails for you. The final version will look something like this:
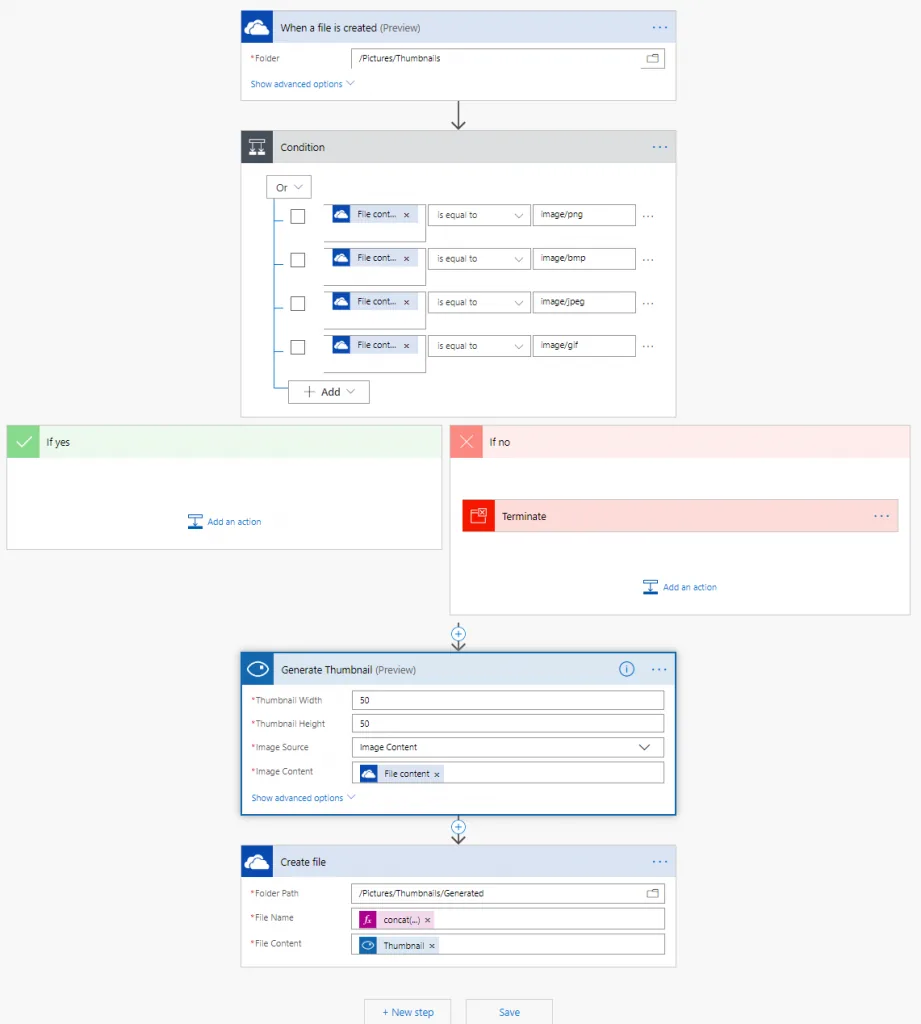
Vision service final flow
