
Barret
Monday, November 15, 2021 | 7 minutes
AI Builder: Training an Object Recognition Model
Last time we looked at identifying information on an invoice. Another feature AI Builder in Power Automate offers is the ability to recognize objects in an image. This time we’re going to look at how to set up AI Builder to identify dice.
- It should be noted that AI Builder is a paid add-on to Power Automate and does incur an extra cost to use. However, a free trial is available. See the Microsoft Power Automate site for more info.
Getting Started
Invoice processing required that you gather at least 6 samples of each invoice that you wanted to train the model for. Object identification requires quite a bit more. For training, you will need a minimum of 15 images for each object that you want to identify, plus additional images for testing. Ideally, however you will want at least 50 images of each object.
These images should contain as much variety as you can get for the object. What I mean by that is that you will want different angles, lighting conditions, backgrounds and so forth. The more variation in your training images you can provide, the better and more accurate your model is going to be.
You can have more than one object in each individual image. You may have more than one example of an object in a single image. In fact, doing so will help improve your model. However, remember that you must have at least 15 distinct images that contain each object you want to identify. If you have 3 examples of an object in a single image, it still only counts as one image. But – and I cannot emphasize this enough – the more images and the more variety you have to train your model, the better your model will be. If you only supply the minimum number of images, the best you can expect is somewhere in the 40% - 50% accuracy range.
Creating the Model
Once you have your training and testing document images, the next step is creating the model. In the Power Automate menu, near the bottom you will see a selection for “AI Builder”. Click to expand that and select “Models” open up the models list. If you don’t see AI Builder in your menu, then you do not have an active paid or trial AI Builder license for Power Automate and will need to add it to continue.

AI-Builder-Menu
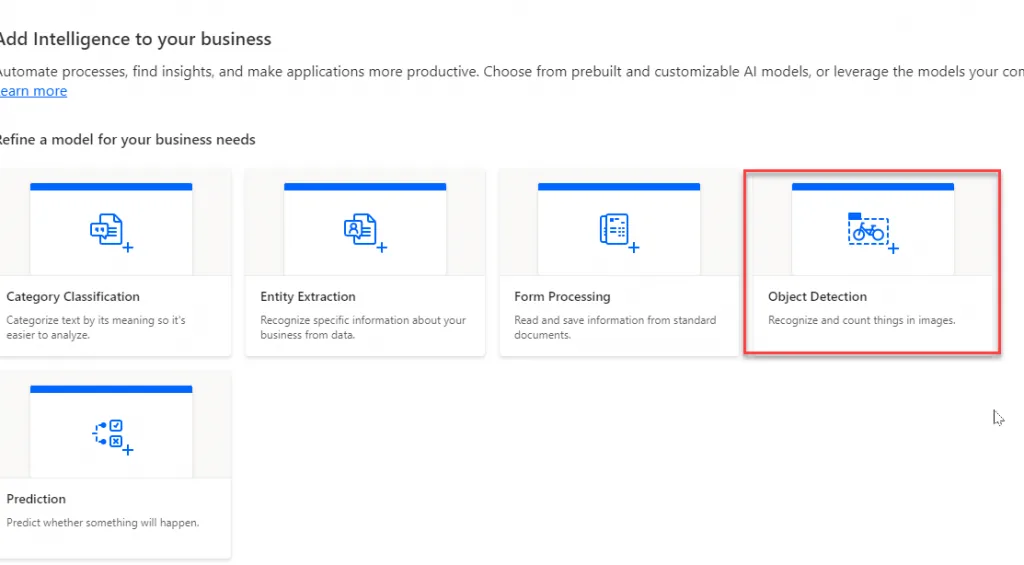
Under the Models tab, select “Build a model” at the top left to create a new model. For your invoice model you’re going to select “Object Detection” as the model type.
AI-Builder-Object-Detection
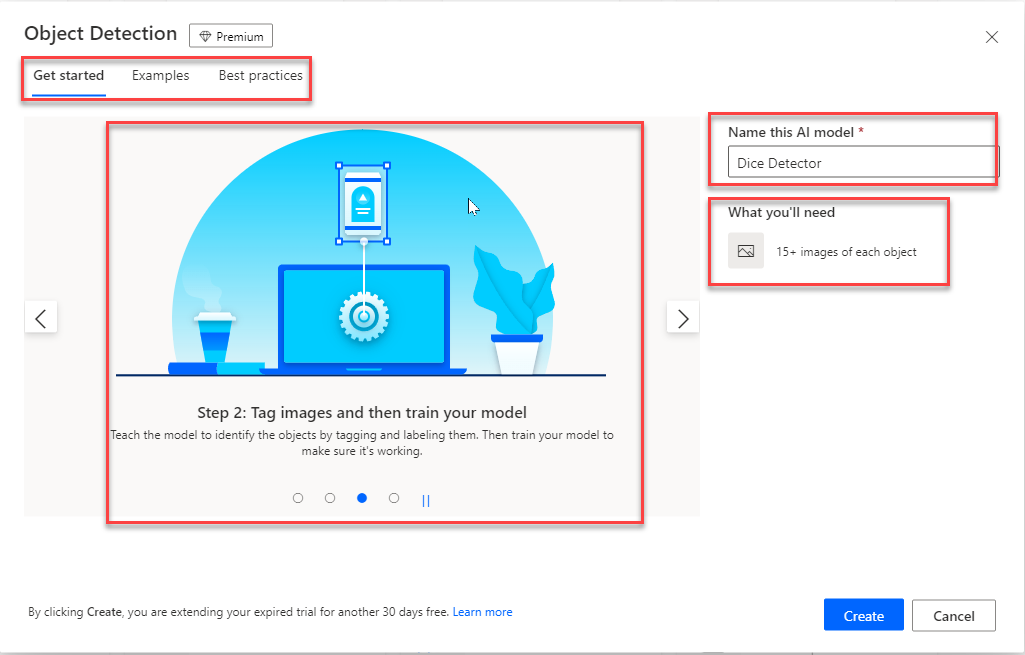
Give your model a name. One of the things you’ll notice in each of these AI Builder model creation wizards is that they do a fantastic job of guiding you through the process of creating your model. It will tell you up front what you need in order to create the model, as well as tips, examples and best practices for each model type you are creating. Click “Create” to continue.
AI-Builder-Mr-Wizard
A new screen will appear asking you to identify your model’s domain. Currently, in most cases you will select the “Common objects” domain. However, there are a couple of specialized domains that might apply to your situation and Microsoft continues to expand the capabilities of AI Builder. For now, we’ll select that option and click “Next” to continue.
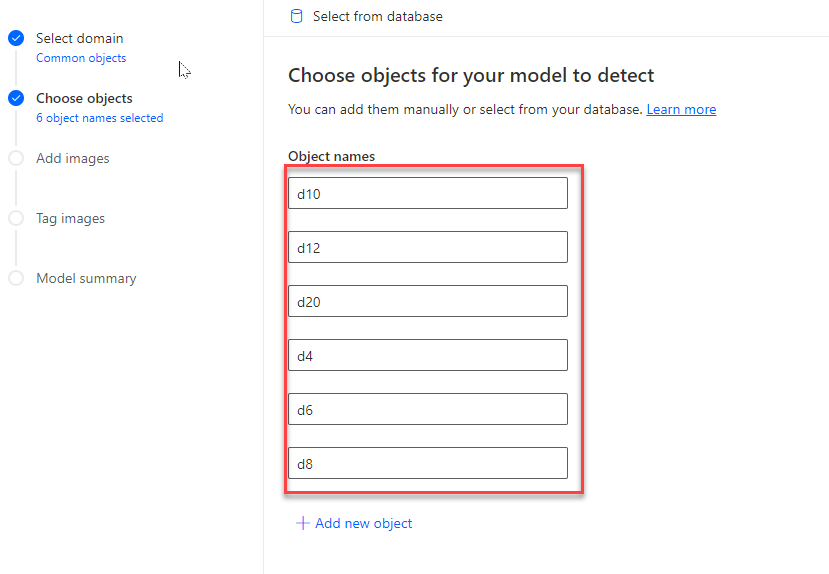
The next step is to list out the objects that you want the model to be able to identify. In our case, we’re creating a model to recognize gaming dice. So we will list out a set of common gaming dice for RPGs: d4, d6, d8, d10, d12 and d20. Create an entry for each die type and then click “Next” to continue.
A couple of things I will point out here: First, is that if you have a list of objects already stored in a database somewhere, there is an option at the top to be able to reference that list. Click on “Select from database” and it will walk you through connecting your object list to that database data. Second, this list is not permanent. If you want to add to or remove objects from your model, you can do so later. Just remember that each time you want to add, you’ll need more images to use for training the model.
AI-Builder-Dice-List
Training the Model
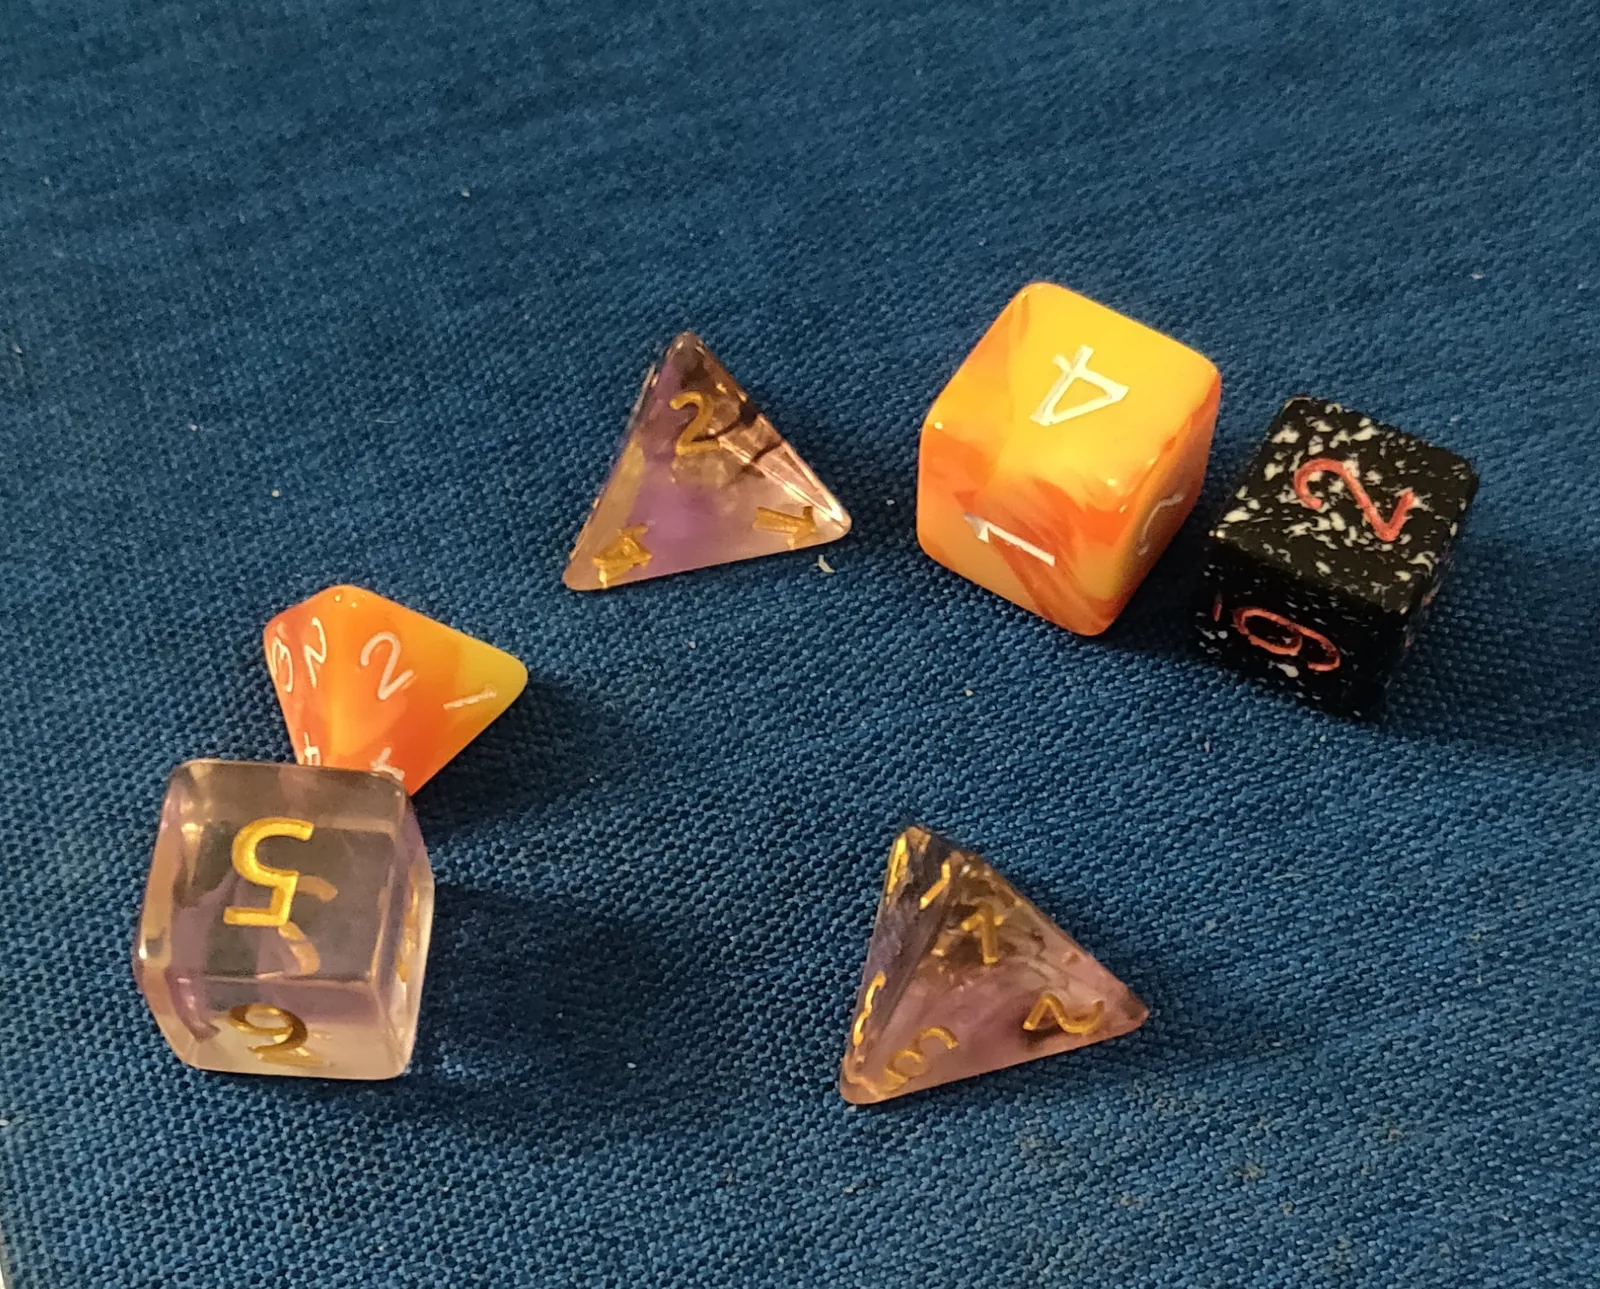
The next step is to train the model you’re creating using the sample images you’ve collected for training purposes. Your first step here is to upload the images into the AI Builder system. Here’s a couple of examples that I will be using.
| Single Item | Multiples | Different Background |
|---|---|---|
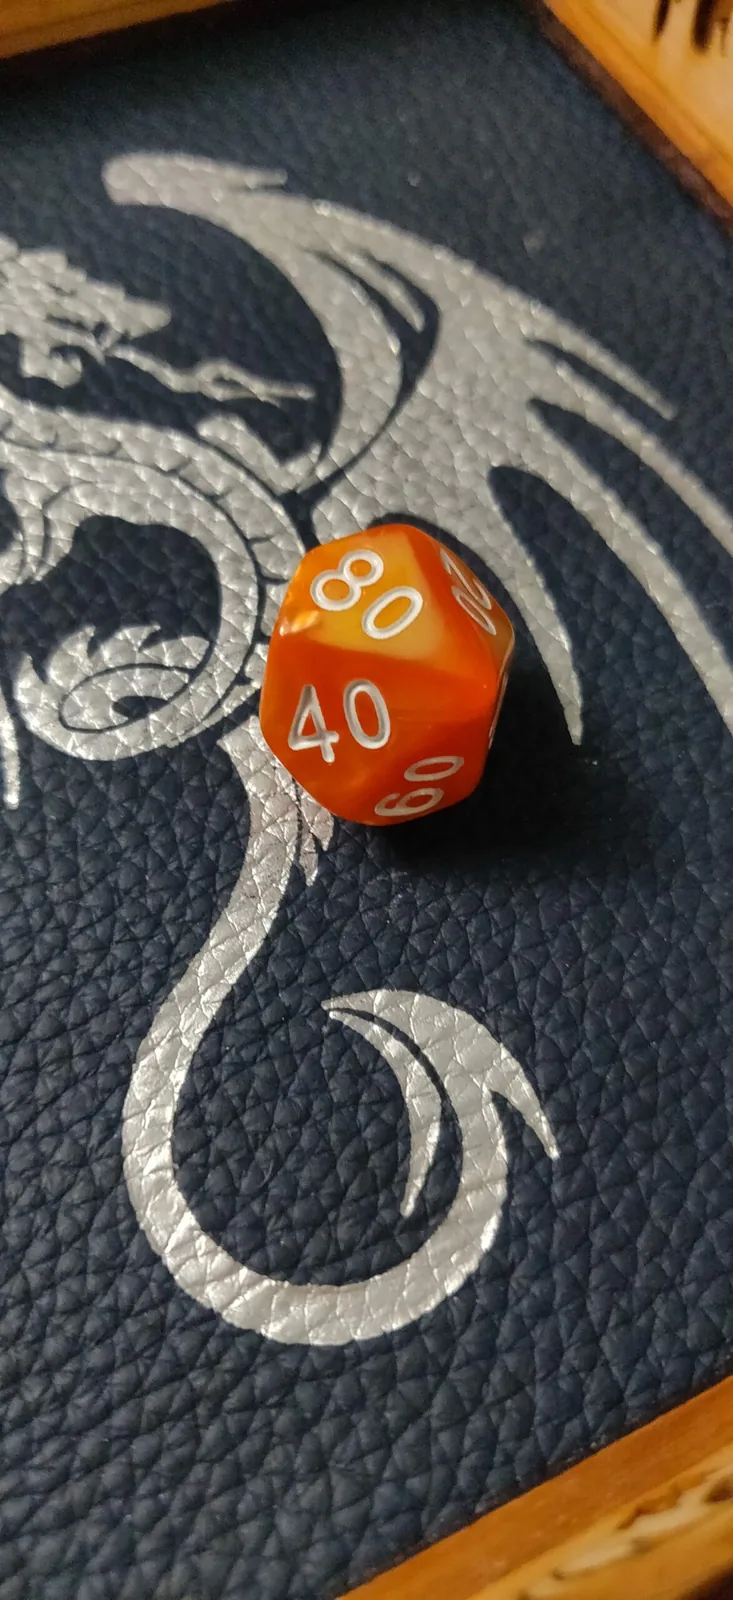 | 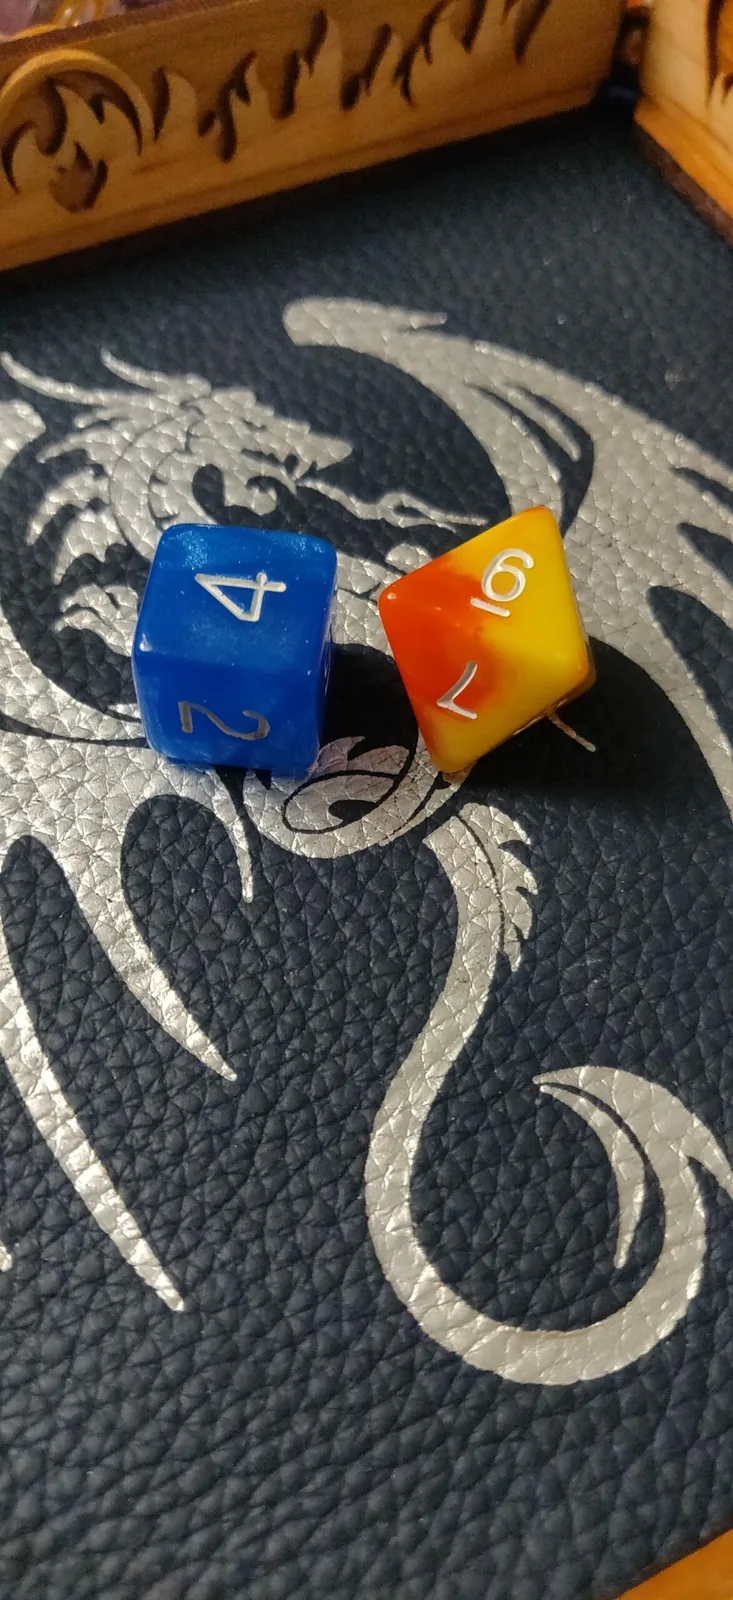 | 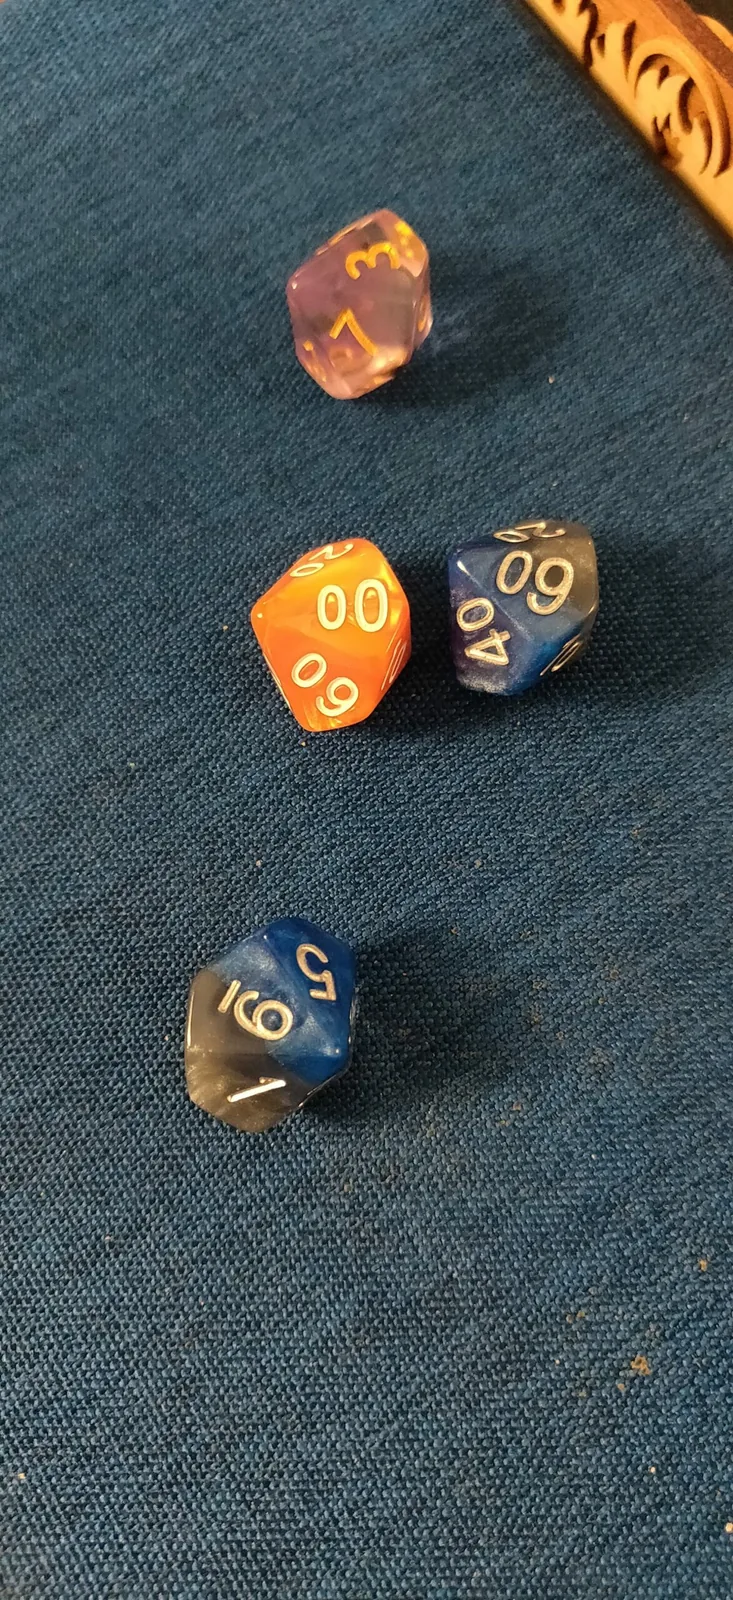 |
Images can be added from your local computer, from a SharePoint site, or from Azure Blob Storage files. Select the images you want to start with and upload them.
An important reminder is that you don’t need to do it all in one sitting. AI Builder will save your progress as you go. You can add a few images and come back later to add more. You’ll find you probably want to do so as identifying the objects in the images can get quite tedious. You’re gonna want to take breaks, especially if you’re doing it right and providing at least 50 images of each object.
Also remember that images are limited to 6 MB in size for each image and only .jpg, .png and .bmp image types are acceptable. So you may need to take some time prepping the images to ensure they meet the requirements, adding to your training time. When you’ve uploaded the images for this session, click “Next” to continue.
As with form processing, the next step is to tag the uploaded images. During tagging, you will be presented each file, one at a time. On each image, you will identify the locations of the objects you wish to train for. You will draw a rectangle box around each object to be identified. Using your mouse you will click-drag from one corner of the object to the opposite corner. When you release the mouse button, a pop-up will appear and you will select the object that you have just outlined.
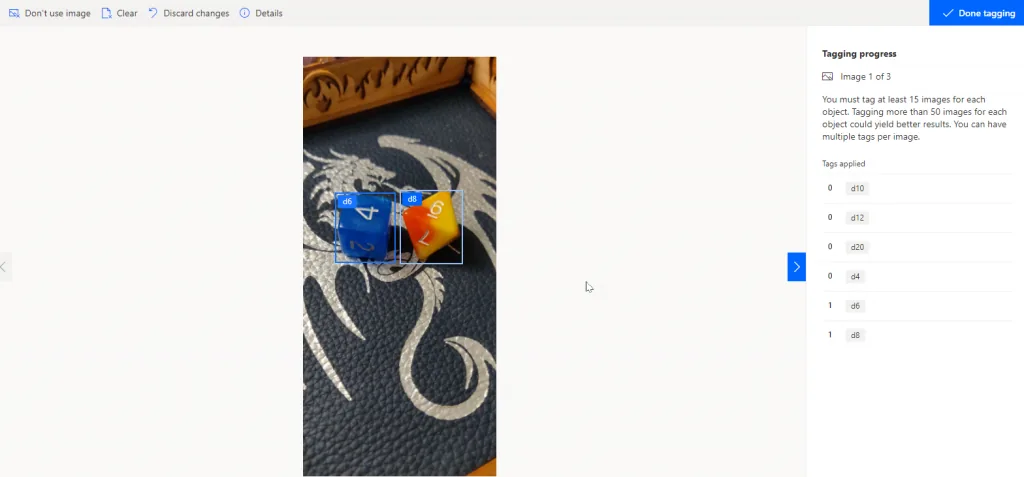
AI-Builder-Training-Dice
You’ll see that after you drag the box and select the object, the outline will remain and in the top left, the selected object type will be displayed. You can change or delete these at any time, even coming back later to modify anything on a particular image that you need to.
An extremely helpful feature you will find to the right of the image box. There you will see a “Tagging progress” display, which will keep you updated on how many images you have tagged for each object type. When you have hit the minimum of 15 for each object, you will see that object highlighted. Remember that it’s a minimum of images, not objects. For example, if this image were to have 3 6-sided dice in it, it still only counts as one image towards that minimum of 15.
Publish
After training is complete, the model summary page will show a screen that lets you review the model’s state. At the bottom left you will see two buttons: “Publish” and “Quick Test”. Before a model can be used in Power Automate or Power Apps, it must be published. Once a model is published, it’s then available for your use. The advantage of publishing is that it lets you make changes to the model in the back end while the published version is used in your apps and flows. Once you’re done making changes, you publish the new version to take over.
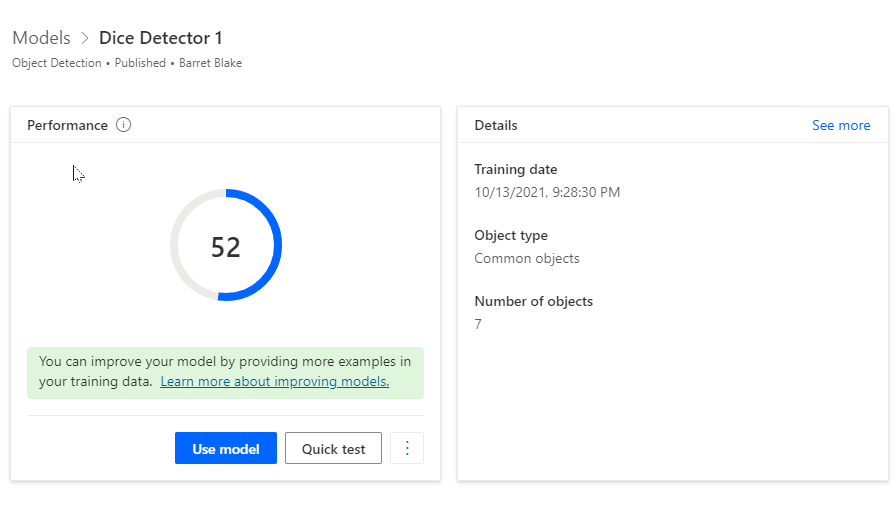
AI-Builder-Published-Dice-Model
One thing you’ll notice with object detection models is that the summary page will include an estimate of how accurate your model is. In the test model I created for dice, I did the absolute minimum of 15 images per object. And the result is an approximate score of 52%. And in running a few tests, that’s just about right on for the test images. It correctly identified about half the dice.
So remember, as with all things AI (and AI Builder), the better your model, the better the results.
