
Barret
Friday, April 30, 2021 | 3 minutes
Using an HTTP Request Trigger
Request by Nick Youngson CC BY-SA 3.0 Alpha Stock Images
This time around we’re going to talk about the HTTP request trigger. This is one of the automated category of triggers that allows you to trigger a flow to run from an HTTP request. This flow is really handy if you have some data you can put into a JSON schema that you want to process in some way. One example from the templates list is passing in data to the flow to use to create a user in Azure Active Directory.
Let’s start by creating our new flow. In the Power Automate menu select Create. Under “Start from blank”, select “Instant cloud flow”, then click on Skip. We’ll add our trigger manually in the blank flow. In the trigger search box, type request. In the connectors box select “Request”, then in the triggers list select “When an HTTP request is received”.
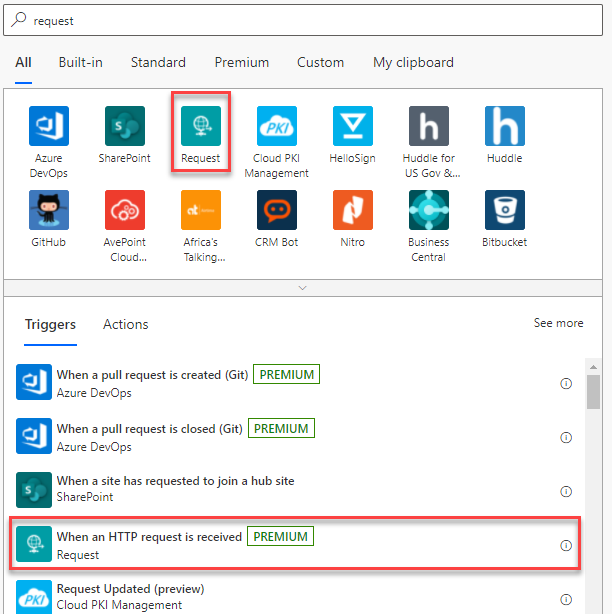
Request menu item
The trigger will default to an HTTP POST request. Any HTTP method is supported. But because the data you’re passing in is being processed by the flow in the same way and you can’t have multiple triggers in the same flow for handling the methods differently, it really doesn’t matter what method you use, so just leave the default POST method in most cases.
The trigger also shows you a box for adding your JSON schema. You can enter the schema manually, but it’s easier to select the option that says “Use sample payload to generate schema”. Click that link and paste a copy of a sample JSON payload into the box. This will generate your schema for you. For our example, we’re going to use the flow to post a tweet to a Twitter account. We’ll keep it simple for our example today and just have one value in our payload: the text for our tweet. We can use the following example:
    {
        "text": "This is a sample tweet"
    }
The generator will create the following JSON schema for us.
    {
        "type": "object",
        "properties": {
            "text": {
                "type": "string"
            }
        }
    }
We now have our schema for the HTTP POST payload. Only JSON data payloads are supported. Important related note: If you are passing in a payload, make sure when you call the endpoint, your content type header is set to application/json, or it won’t work.
Next we’re going to add our Twitter action. Click on “New step” and in the search box enter “twitter”. Select the “Post a tweet” action. If you haven’t created a connection to Twitter from Power Automate, the system will walk you through setting up the connection.
Once the action is added, click in the box next to “Tweet text”. A popup will appear to the right, to select the content that will be tweeted. In this example, you will see only one option in the list: it will show “text” under “When a HTTP request is received”. Select that option.
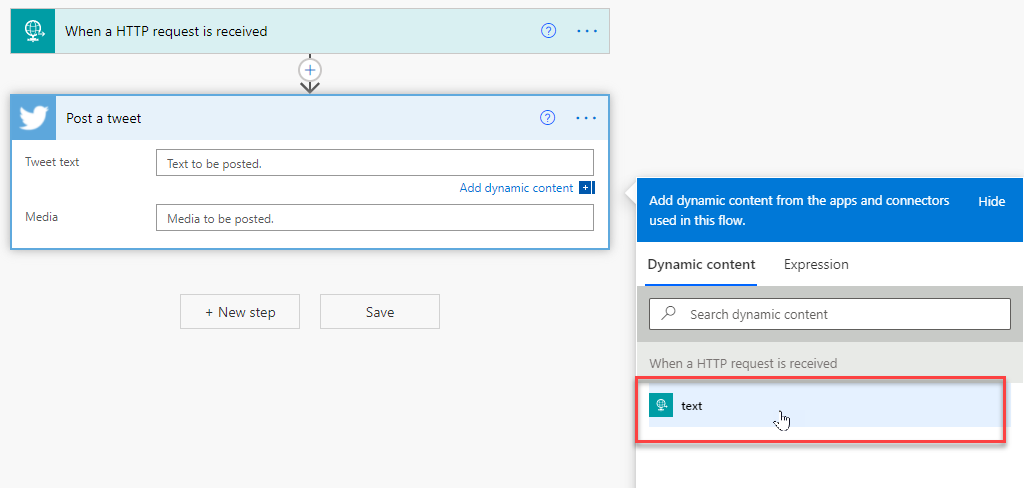
Request menu item
Now let’s save our flow. Once you save the flow the first time, Power Automate will generate the URL that will be called. Expand the trigger and you will see the URL for the flow. You can copy that out to use for testing. For this example, I’ll use Postman to call the endpoint.
First, I create a new POST request in Postman. Next, I add the content-type header of application/json.
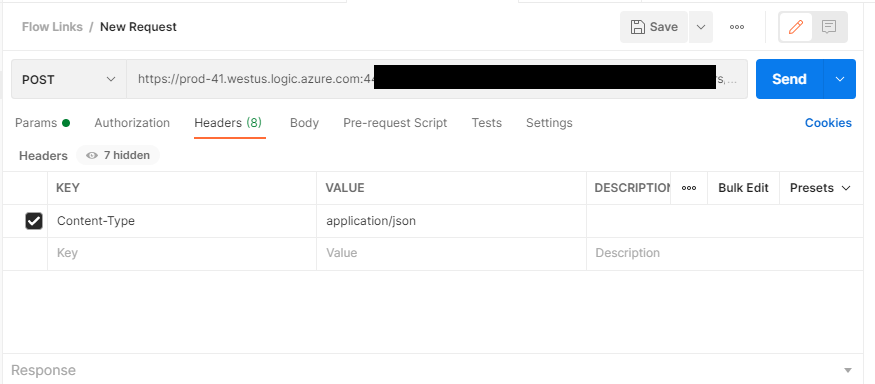
postman-header
Now, I’ll add my JSON body payload.
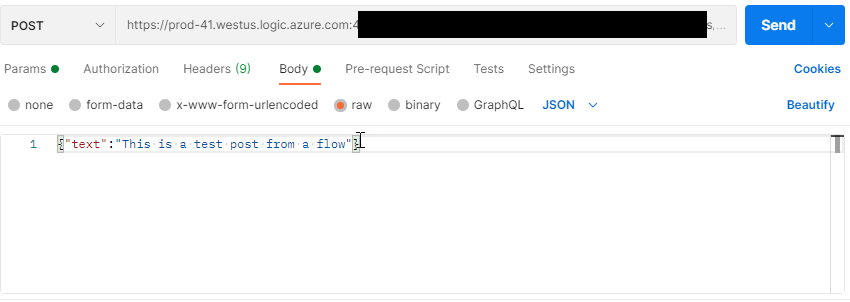
postman-body
If the POST request is successful, you’ll receive a 202 Accepted response. And viola! Our tweet has been tweeted!
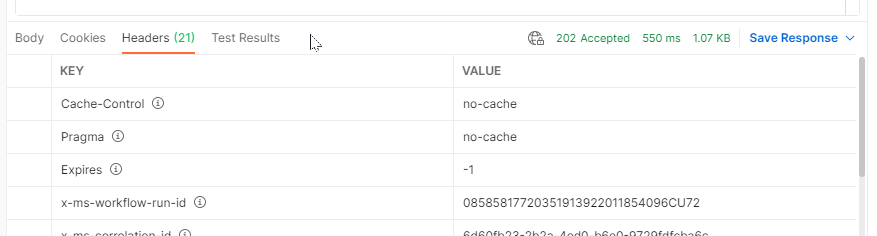
postman-response
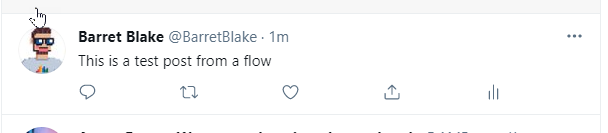
Sample tweet to be tweeted
